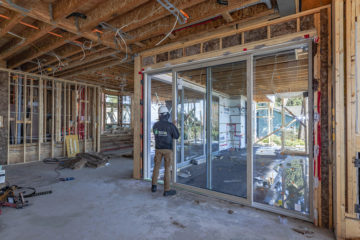
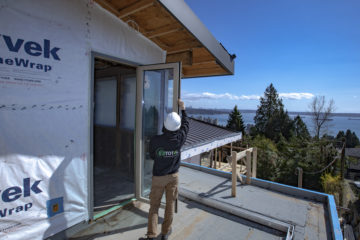
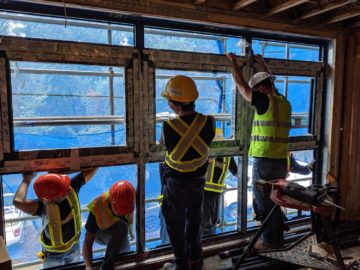
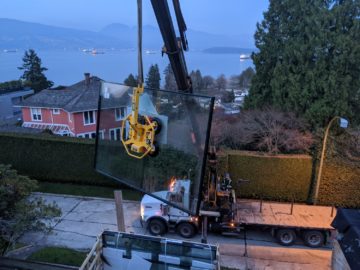
Here, at TFS, we believe that high-performance European windows and doors deserve first-class service. This is why we only work with professional installation crews. All teams of subcontractors are certified in accordance with our standards.
Alongside, installers, that adhere to the highest level of expertise, are only one part of effective windows and doors installation. The other two are the correct installation procedure and installation steps.
- Review job site conditions
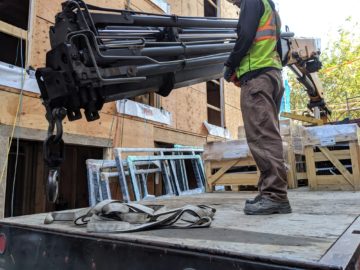
- Confirming unloading of the goods and storage on-site, or transportation windows/doors to their final destination which is direct to their RO (Rough Opening)
- Installation of a mock-up:
- waterproofing according to envelope details;
- installing the frame and the glass;
- backer rod and caulk.
- After mock-up is approved we follow the installation plan that was previously approved by the site manager
- Verify RO sizes and levels
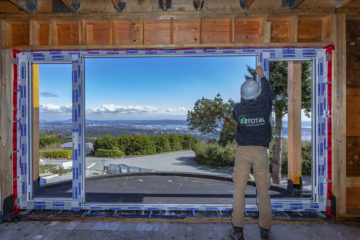
- After RO is confirmed we perform waterproofing:
- a self-adhered composite membrane (blueskin + Tyvek)
- TFS applies brackets/straps to the window frame or dam angle on the RO.
- TFS sets the laser and we install the frame according to it;
- The frame getting into the RO and getting leveled by using window shims
- Once the frame is leveled, it gets mechanically fastened according to the installation details (dam angle, straps, direct fix)
- After the frame is fixed into the RO TFS starts glazing the unit
- TFS installs glazing shims on the window sill frame and then insert IG unit
- IG unit is getting stopped with the glazing bead
- TFS applies gaskets between the glazing bead and the IG unit
- Once the previous step is completed, TFS checking levels and operations of the glazed windows and makes final adjustments with the allen key set
- The backer rod goes between the windows jamb and the windows frame
- Silicon is applied on the top of the backer rod to make sure there are no gaps and voids
- The final check and sign-off with the client
